For convenience, it is recommended to apply audio presets to a lighting scene rather than individual switches. To create a lighting scene and apply a default audio preset, follow the steps below.
Go to the configuration setup menu (gear wheel in the top right of the screen). The default passcode is “0000”
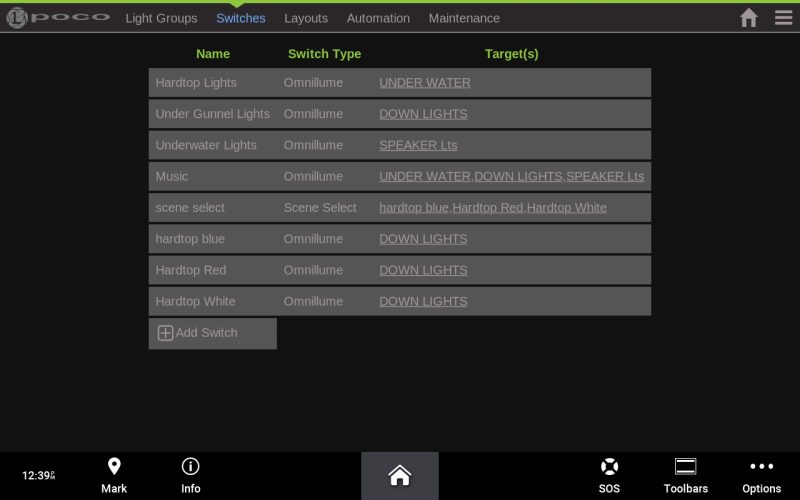
STEP 1:
- Go to the Switches tab.
- Select “Add Switch” to open the switch configuration window.
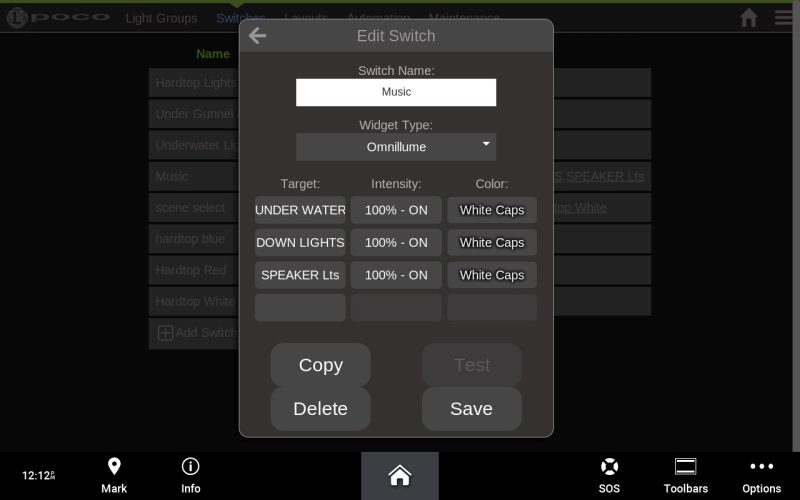
STEP 2:
- Give the new switch a name, “Music,” for example.
- Switch type will be Omnilume.
- Now select the “Target” field.
- Add a Light Group for the scene (select only one at a time).
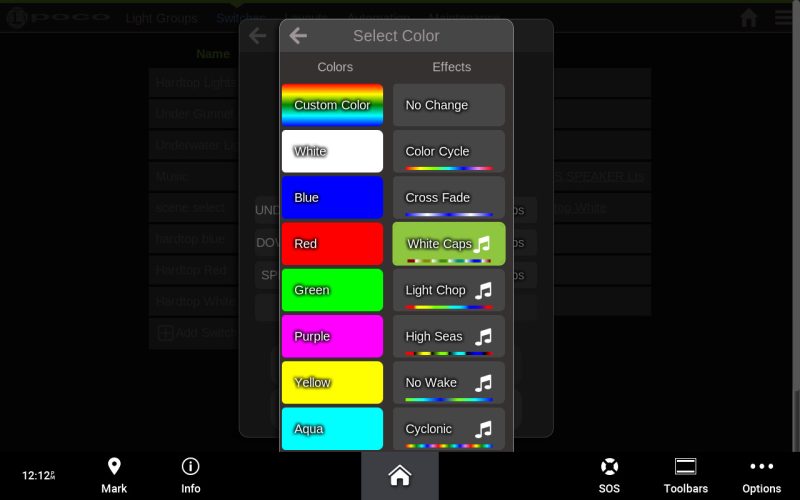
STEP 3:
- Now select the “color” field. This is where you will apply the audio preset.
- Select an audio preset denoted by the note icon beside the name (Example – White Caps).
- Select save.
STEP 4:
- To add more Light Groups to your scene, simply repeat the process (Target<Light Group, Color<audio preset)
- Keep the audio preset the same for each Light Group you add.
- Save the action when all desired Light Groups have been added to your scene.
STEP 5:
- Now select the “Layout” tab.
- Under “Edit Layouts,” you can select which tab to place your new scene switch (we recommend “Advanced Scenes”).
- Select the “Add Switch” option in the “Layout Switches” section to add your new scene switch.
- Click the home icon in the top right corner of the screen to exit the editor and return to the home screen.
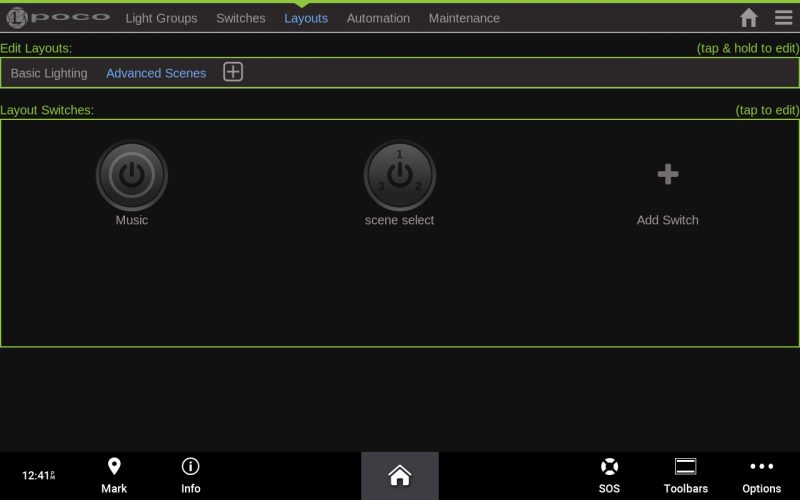
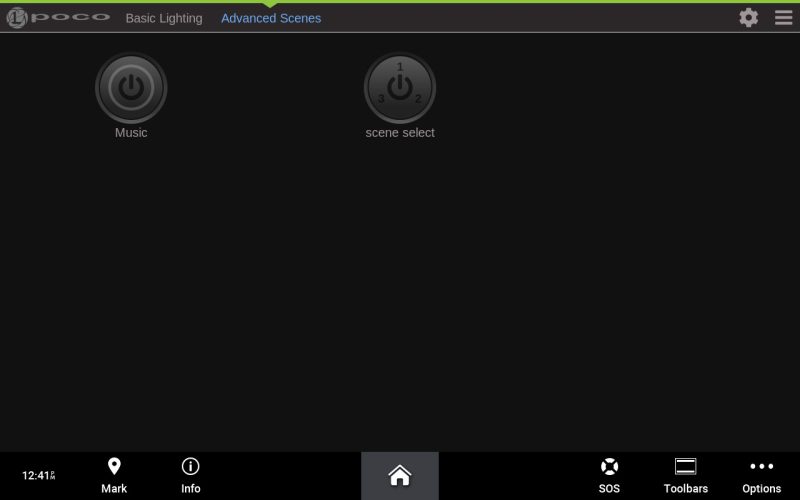
STEP 6:
- The new scene switch will now appear in the tab you selected.
- Activating this switch with a single press applies the default audio preset to all Light Groups on the switch.
- To apply a new audio preset, follow the steps above in the “How to Apply a Sound-to-Light Preset” section.